The Install first
Utilising all four functions of the decoder to run Head and Tail lights(This way you can switch the tail lights off) , the first task is to remove the original bulbs and replace them with LEDs very easy on the Fleischmann BR218s. The LEDs will fit straight in the place of the original lamps. The closest to the front is the red lamp. I solder the function wires to the LED -ve tail after the tail has been bent over at right angles.
Then add resistors -usually 1k Ohm for the White and 3k3 Ohm for the Red. Then hold the LEDs in place by soldering them to the PCB board by the +ve leg. A bit of white and Black paint later will stop any spill under the loco.
I also paint a little of the light pipes inside the loco white to reflect the light back down to the lower headlights . and paint the underside of the cab floor black to stop to much light lighting the cab up.
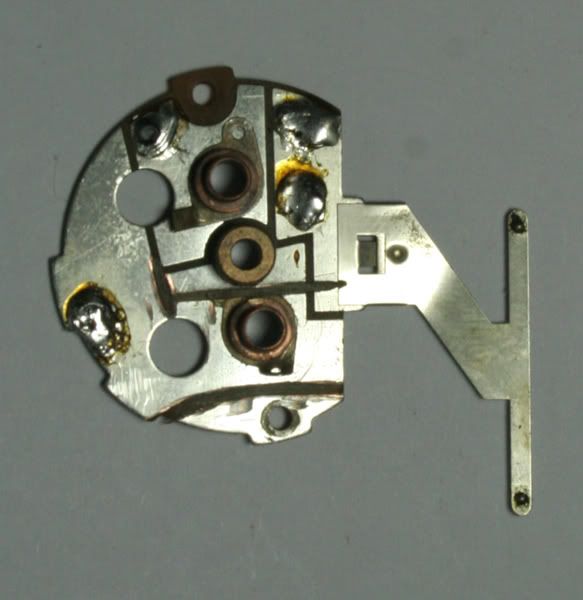
This is the Motor backplate before modification.
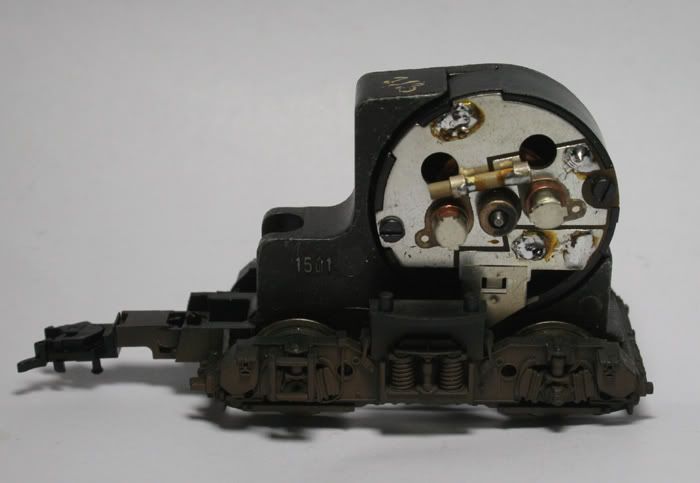
A few cuts with the Dremel
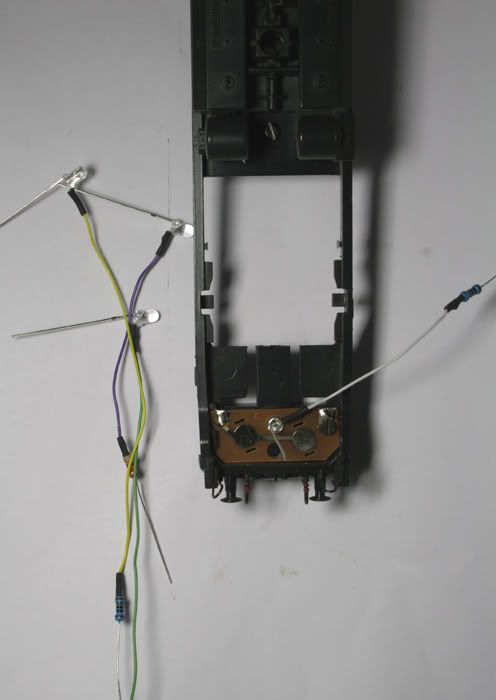
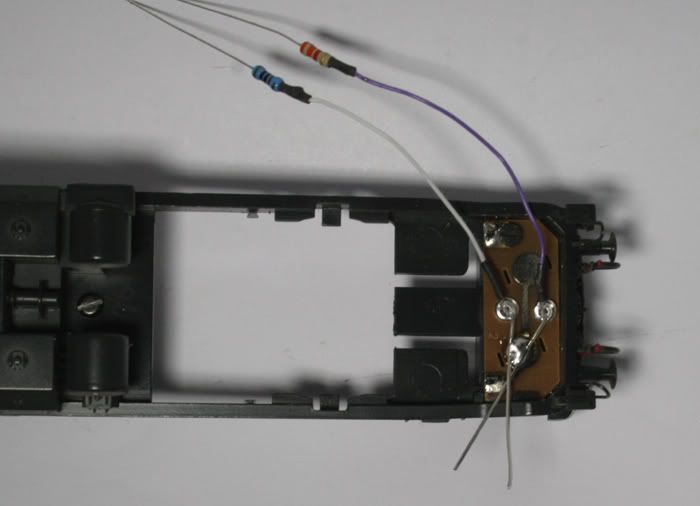
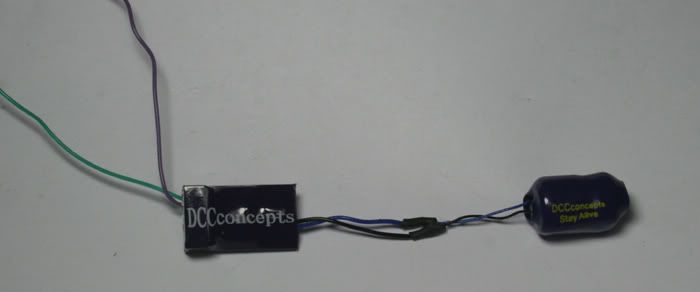
Wiring the Stay Alive up to the decoder
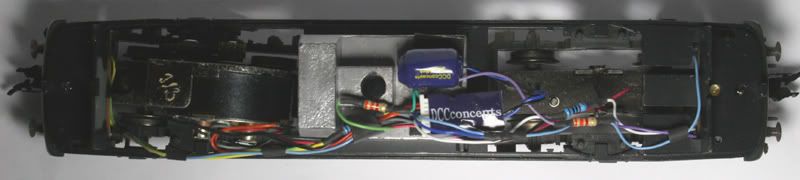
A fair bit of wiring on the loco as well.
I usually connect the Red and Black from the Harness to the non powered bogie but this time I wired to the powered bogie instead.
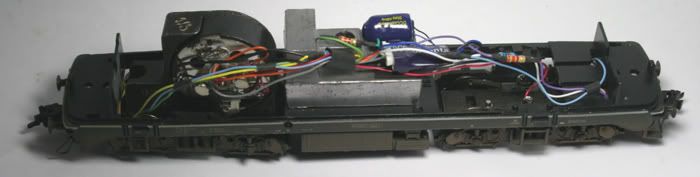
Side view is a little easier to see
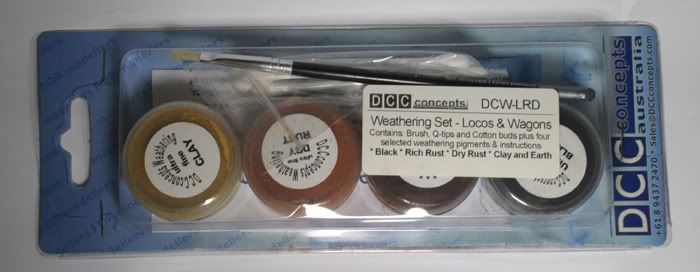
Then I had a go with the weathering powders as well
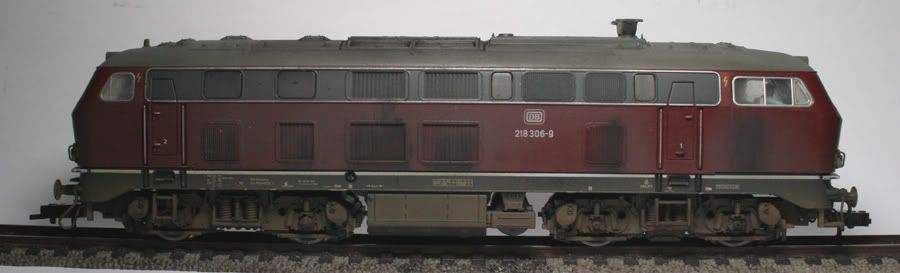
This is my favourite bit Used 3 of the four colours in the kit mixed them up a bit on the loco mainly black on top and Clay on the bogies and sides black blended with it and more rust on the bogies.
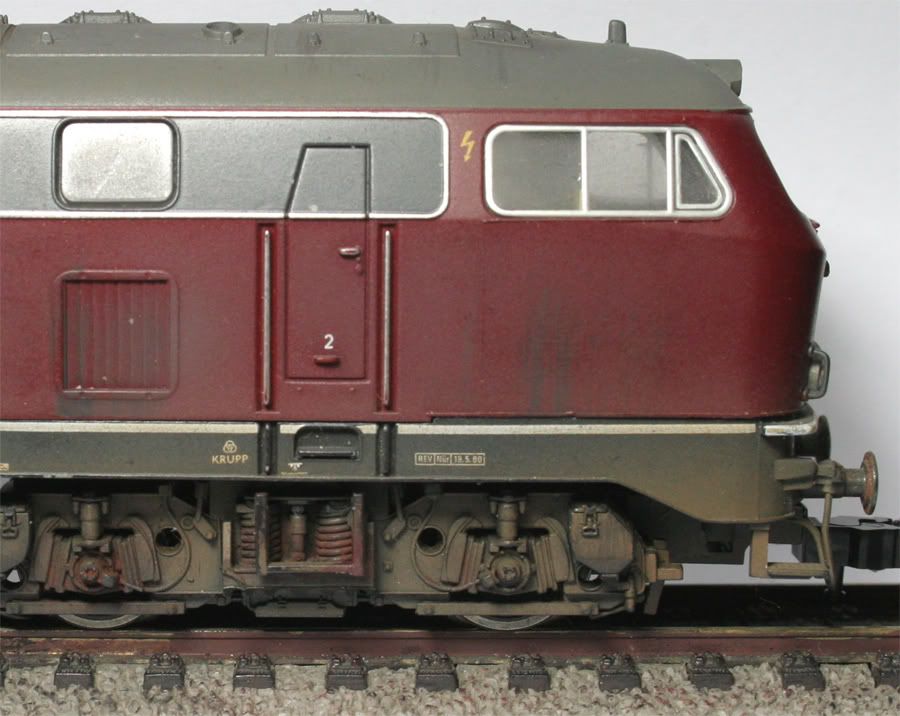
This is the first time I have used powders and it was great. The second side was a bit more controlled after practice on the first side.
This comment has been removed by the author.
ReplyDelete