Tuesday, 2 July 2013

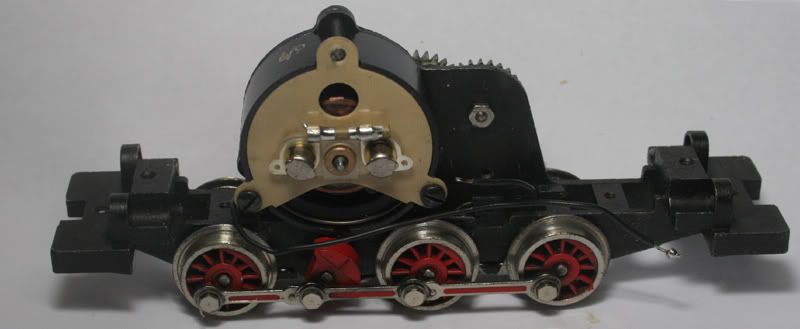
Motor Back Plate Info

Conversion of Fleischmann Locomotives to DCC digital control

What is to be considered when converting locomotives generally and what characteristics do  Fleischmann  HO motors have for conversion ?

Basic DCC Principals

For controlling of locomotives with DCC digital decoders it is absolutely necessary, that the motor has no electrical connection to the body and power pickups of the locomotive.

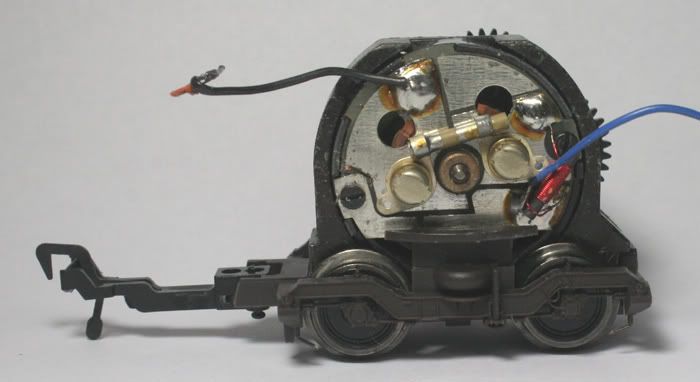
Fleischmann built in its earlier designed locomotives motors, a metal, grounded motor back plate.
One of the bushes, in which the motors carbon brush sits in, is pressed directly into the metal motor back plate and that creates an electrical connection to the locomotive motor housing.

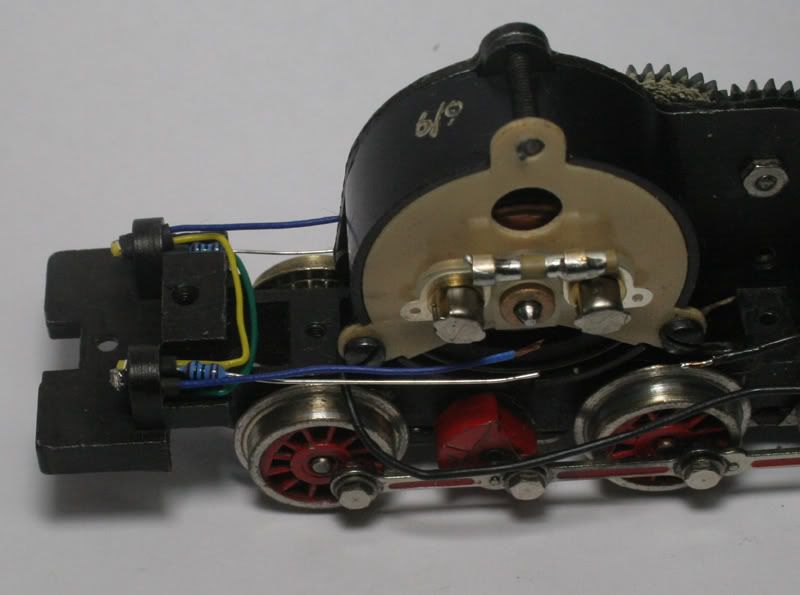
Modern Fleischmann Motors have motor back plates , which can be made insulated by isolating a connection (conductive strip or electrical link). For the old, grounded motor back plates , new insulated back plates are available. That is, depending upon what the Locomotive has, as a Motor back plate, the back plate can be made insulated by isolating the conductive strip or electrical link or it must be exchanged for an insulated motor back plate

Types of the motor back plate
These are the conventional, grounded motor back plates with the following part numbers:
  • 504701
  • 504702 (metal or black)
  • 504703 (Insulated version not available)
  • 504704
  • 504706
  • 504707
  • 504708
These must be always replaced with the insulated version.
There is a way to make these DCC compatible, with a bit of difficulty (see page 10 on in my guide of Fleischmann Motor back plates - found in the "Illustrated Guide")
Motor back plates, that can by cutting an electrical link be made isolated, have the part numbers:
  • 504720
  • 504704 (again)
  • 504720
  • 504713 (old version with electrical link)
  • 504713 (new version with isolation)
  • 504709 (with electrical link by wire)
  • 504716
  • 504722
By cutting the bridge or electrical link.
Insulated motor back plates carry the numbers:
  • 504750
  • 504712
  • 504721
  • 504714
  • 504710
  • 504715
  • 504715 (again, with isolation)
  • 504714
  • 504709 (again, without electrical link)
  • 504717
  • 504723
These are used, if the locomotive is equipped with a DCC digital interface and serve also as replacement part for the grounded motor back plates.
What, how exchange or change?
The following overview shows, which grounded motor back plates can be replaced, by motor back plates, which can be made insulated by isolating an electrical link, and/or which need a suitable, insulated back plate

Grounded motor back plates
Back plates, which can be made insulated by isolating an electrical link
Insulated back plates
504701 (replace)
 
504750
504702 (replace) (metallic or black)
504720 (remove link)
504712
504721
504704
504704 (again)
504714
504706 (replace)
504720 (remove link)
504710 (with separation)
504721
504707
504713 (remove link) (old version with electrical link)
504713 (remove link) (new version with isolation)
504715
504715 (again, with separation)
504708
 
504714
 
504709 (remove link) (with electrical link from wire)
504709 (remove link) (new without electrical link)
 
504716 (remove link)
504717
 
504722 (remove link)
504723

Catalog number of the Locomotive and original Motor back plate part no.
In the following table has Fleischmann’s Catalog number of the Locomotive, which motor back (or back) plates were used. , Where different motor back plates were used, depending on manufacture date is also noted.
Catalog
Original Motor Back Plate
Insulated Motor Back Plate
4063
504702 (replace)
504720 (remove link)
 
4064
504702 (replace)
504720 (remove link)
504712/504721
4065
504706 (replace)
504720 (remove link)
504710/504721
504716 (remove link)
 
4080
504701 (replace)
504750
4086
504716 (remove link)
 
4092
504720 (remove link)
504710/504721
4093
504706 (replace)
504720 (remove link)
504710/504721
4094
504706 (replace)
504720 (remove link)
504710/504721
4095
504706 (replace)
504720 (remove link)
504710/504721
4098
504720 (remove link)
 
4099
504720 (remove link)
 
4103
Engine insulated
 
4115
Engine insulated
 
4124
504702 (replace)
504720 (remove link)
504712/504721
4125
504701 (replace)
504750
4138
504709 (remove link) [1]
 
4139
504709 (remove link) [1]
 
4140
504702 (replace)
504706 (replace)
504710/504721
504710/504721
4141
504702 (replace)
504706 (replace)
504710/504721
504710/504721
4142
504706 (replace)
504720 (remove link)
504710/504721
4145
504701 (replace)
504702 (replace)
504750
504710/504721
4146
504701 (replace)
504702 (replace)
504750
504710/504721
4147
504701 (replace)
504702 (replace)
504750
504710/504721
4154
504720 (remove link)
 
4155
504720 (remove link)
 
4156
504709 (remove link) [1]
 
4157
504709 (remove link) [1]
 
4160
504706 (replace)
504720 (remove link)
504710/504721
4161
504706 (replace)
504720 (remove link)
504710/504721
4162
504709 (remove link) [1]
 
4164
504720 (remove link)
 
4165
504709 (remove link) [1]
 
4169
504713 (remove link)
 
4170
504701 (replace)
504702 (replace)
504706 (replace)
504750
504710/504721
504710/504721
4171
504713 (remove link)
 
4172
504706 (replace)
504710/504721
4173
504706 (replace)
504710/504721
4174
504713 (remove link)
 
4175
504701 (replace)
504702 (replace)
504706 (replace)
504750
504710/504721
504710/504721
4176
504709 (remove link) [1]
 
4177
504701 (replace)
504702 (replace)
504706 (replace)
504750
504710/504721
504710/504721
4178
504701 (replace)
504702 (replace)
504706 (replace)
504750
504710/504721
504710/504721
4179
504709 (remove link) [1]
 
4181
504713 (remove link)
 
4224
504701 (replace)
504750
4225
504701 (replace)
504750
4226
504701 (replace)
504750
4227
504701 (replace)
504750
4228
504713 (remove link)
 
4229
504713 (remove link)
 
4230
504701 (replace)
504713 (remove link)
504750
4231
504701 (replace)
504713 (remove link)
504750
4232
504704
504714
4233
504704 new (remove link)
 
4234
504704
504714
4235
504701 (replace)
504702 (replace)
504704
504750
504715
504714
4236
504701 (replace)
504702 (replace)
504750
504715
4237
504704 new (remove link)
 
4238
504704 new (remove link)
 
4239
504704
504714
4246
504702 (replace)
504706 (replace)
504710/504721
504710/504721
4247
504702 (replace)
504706 (replace)
504710/504721
504710/504721
4270
504701 (replace)
504750
4271
504701 (replace)
504750
4272
504701 (replace)
504750
4273
504701 (replace)
504750
4280
504701 (replace)
504750
4326
504713 (remove link)
 
4327
504713 (remove link)
 
4328
504713 (remove link)
 
4329
504713 (remove link)
 
4330
504701 (replace)
504750
4335
504701 (replace)
504750
4336
504701 (replace)
504750
4337
504701 (replace)
504750
4338
504701 (replace)
504750
4340
504702 (replace)
504706 (replace)
504710/504721
504710/504721
4341
504702 (replace)
504706 (replace)
504720 (remove link)
504710/504721
504710/504721
4342
504702 (replace)
504706 (replace)
504720 (remove link)
504710/504721
504710/504721
4343
504720 (remove link)
 
4345
504706 (replace)
504720 (remove link)
504710/504721
4347
504713 (remove link)
 
4348
504707
504713 (remove link)
504715
4349
504707
504713 (remove link)
504715
4350
504707
504715
4351
504713 (remove link)
 
4352
504713 (remove link)
 
4365
504702 (replace)
504706 (replace)
504720 (remove link)
504710/504721
504710/504721
4366
504702 (replace)
504706 (replace)
504710/504721
504710/504721
4367
504706 (replace)
504720 (remove link)
504710/504721
4371
504701 (replace)
504750
4372
504701 (replace)
504750
4375
504702 (replace)
504710/504721
4376
504706 (replace)
504720 (remove link)
504710/504721
4377
504706 (replace)
504720 (remove link)
504710/504721
4378
504720 (remove link)
 
4380
504702 (replace)
504706 (replace)
504720 (remove link)
504710/504721
504710/504721
4381
504702 (replace)
504706 (replace)
504710/504721
504710/504721
4382
504720 (remove link)
 
4399
504701 (replace)
504750
4400
504701 (replace)
504750
4401
504701 (replace)
504750
4430
504704
504714
4431
504704 new (remove link)
 
4434
504704
504714
4438
504704 new (remove link)
 
4440
504713 (remove link)
 
4450
504713 (remove link)
 
4460
504707
504715
4470
504708
504714
 
504706 (replace)
504720 (remove link)
504710/504721
4933
504704
504714
4938
504704 new (remove link)
 
[1] =newer locomotives with insulated back plate (green)
The back plates 504713 and 504720 have a isolatable electrical link. With the change of the locomotive on DCC digital control they do not need to be exchanged.
Locomotives, in which the back plate 50 47 02 and/or 50 47 06 is built, receive the back plate 50 47 20 with isolatable electrical link during the new production.
Back plates made isolated by cutting the electrical link

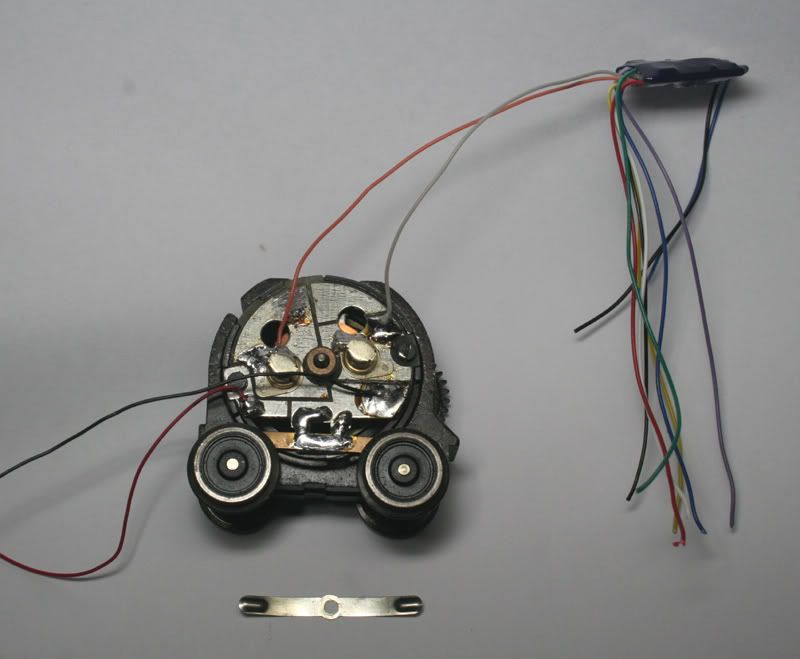
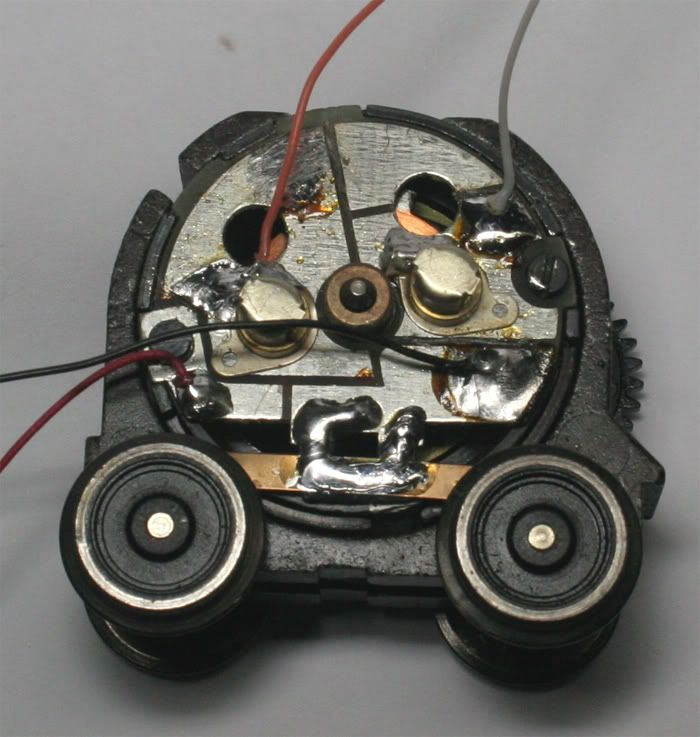
If you look through my conversions there aare a number of backplates that can be modified by simply cutting the link between the negative motor brush and the part of the PCB that is electrically linked to the motor body/chassis.
Back Plates that can be modified with a bit more difficulty

Fleischmann developed FMZ digital in 1986 and gradually all Locomotives were given some form of insulated backplate
Back plates that are made with insulating material can be modified with a few cuts of a Dremel cut off wheel

It is important to isolate the Motor brush holders from the body of the Motor and also from the central bearing on the back plate
Pictures can be found in the "Illustrated Guide" on how to do this.



Weathering Fleischmann Profi Track

Hi All,

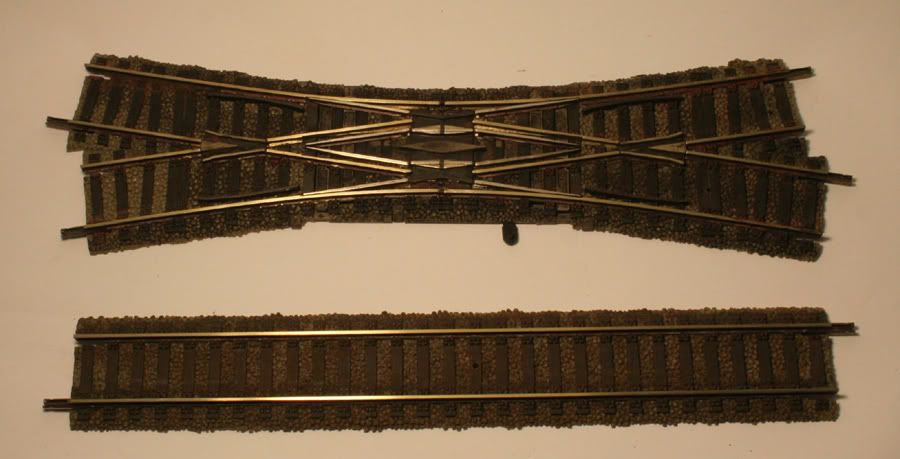
As a project I weathered some Fleischmann Profi track.


I wanted to give the turnouts a dirty "part of the maintenance yard" look using a mixture of paint and powders to get the effects required.


Track in marshalling yards, depots, stations and works areas is usually discoloured with soot, oil, rust and grime. Main line tracks are usually not as dirty just rusted and covered in lesser quantities of grime. When viewing the track on your layout, the angle of view is usually not straight down, but at an angle. The tops of the rail normally remain shiny but the sides are rusted and dirty.


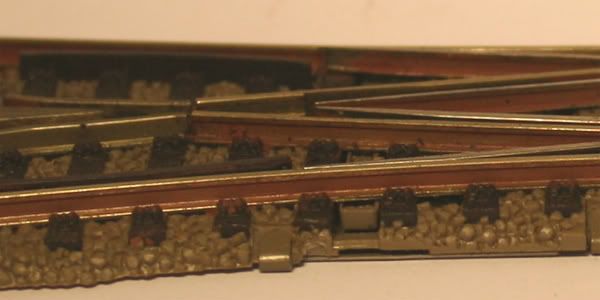
Above – we have a new Fleischmann Profi double slip turnout, as would be viewed on a layout.


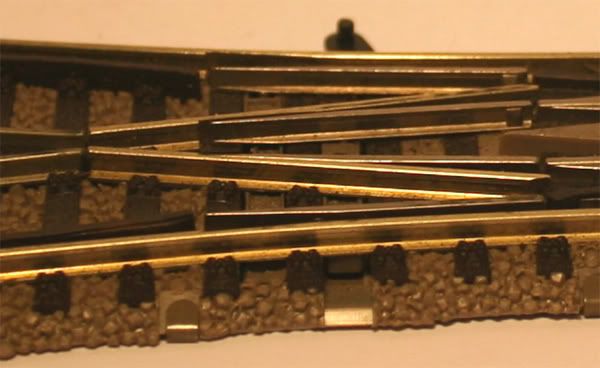
The sides of the rails are quite visible and detail of the rail going through the sleeper chairs stands out.

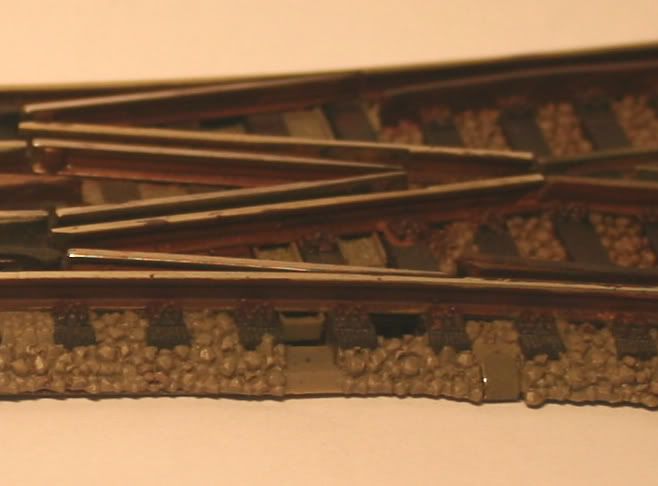
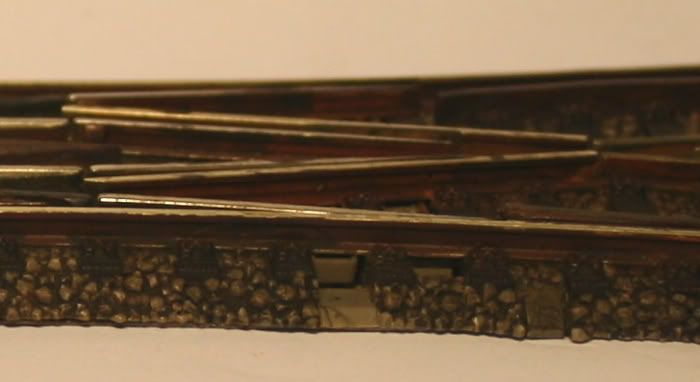
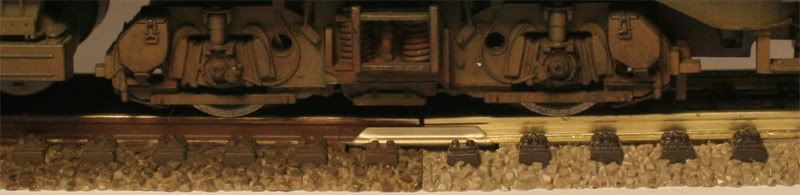
Painting the rail sides with a small brush will reduce the toylike appearance. I have tried a few different colours. Humbrol Rust Red was a bit too red and light for me, I found Tamiya XF-9 Hull Red a deeper tone , Tamiya XF-10 Brown even better , giving the appearance of rusted rail that has been rained on over a long period.


Above Humbrol Rust


The colour stands out more in reality – this is pictured on a white background but the light illuminating the scene is a warm white.


Above

Tamiya XF-10 Brown

Take care painting the point blades – paint will stick them together. Keep a scrap of wood handy to clean the tops of the rails

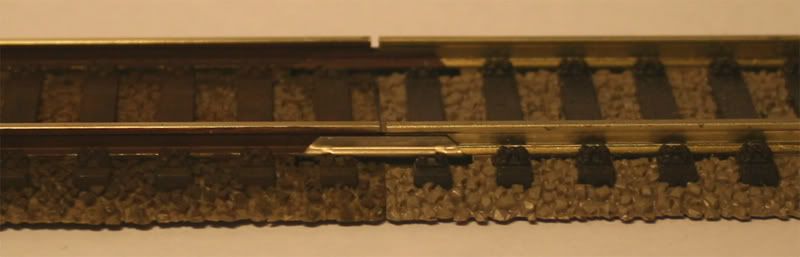
Next- I made a wash of brown paint added some Pure Black weathering powder and a touch of Deep Rust. Using a spray bottle with some water and a drop of detergent I gave the track a little bit of wetting. Then using a small brush applied the wash along the rail sides and the sleepers and ballast. As the track piece was wet, the wash filled the cracks and crevices with ease.


Judge for yourself the difference left and right – it may be a compromise but it takes away the brightness and you see the details of the loco much better (And the NEM flanges are not visible)


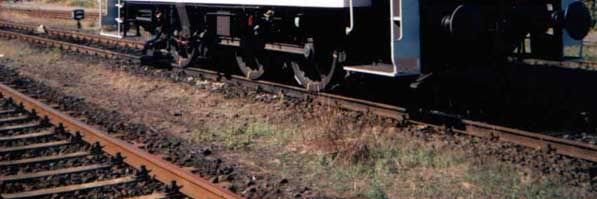
Some of the pictures I worked from

I tried to get the colour around the same - but it is difficult.


This picture below has quite a variety of colour within meters


and comparing to a loco (Red and Black of course)

DCC Conversion of a DMU

Hi All ,

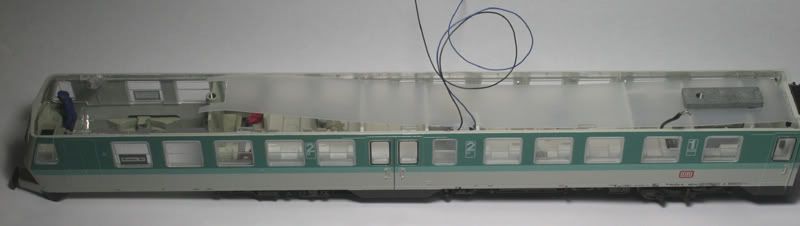
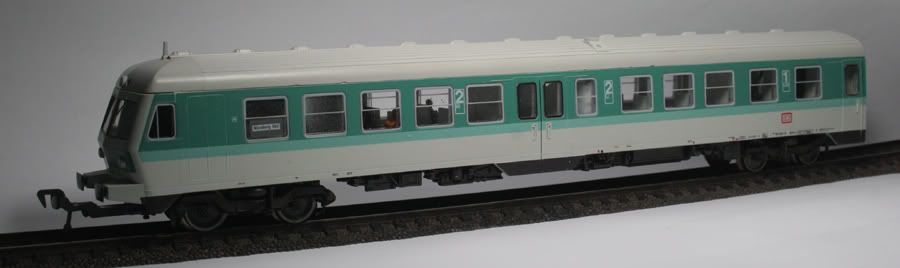
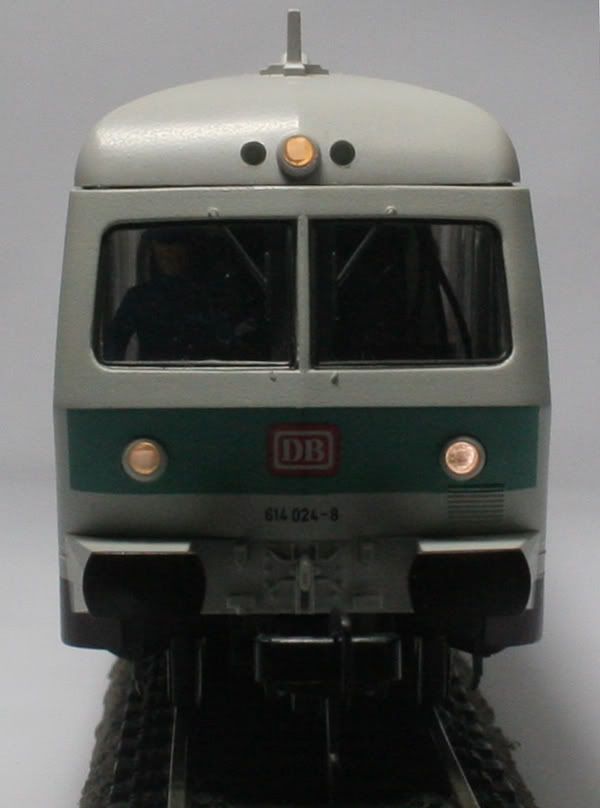
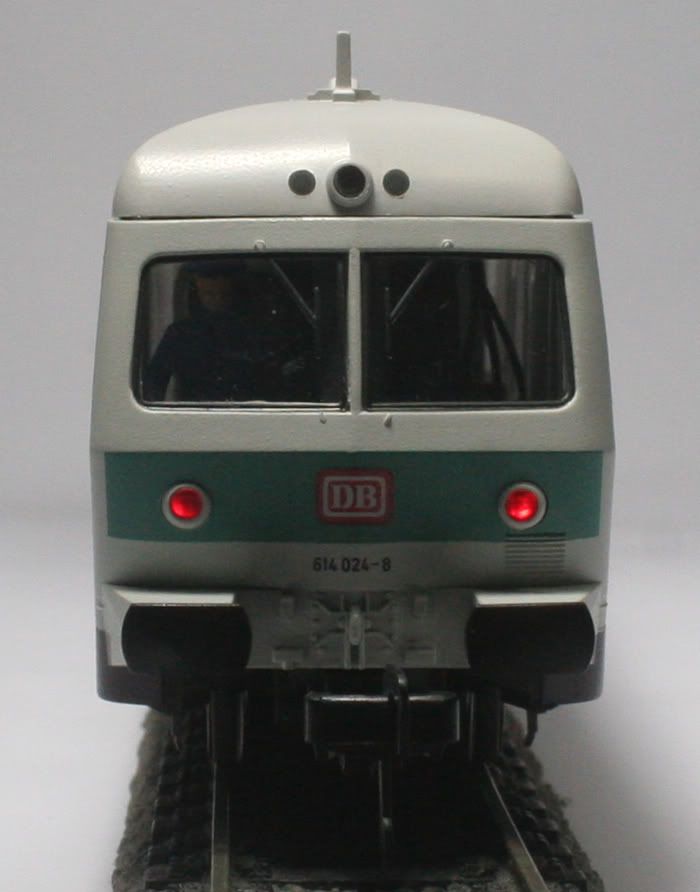
The last item I have had on my workbench is a Fleischmann BR614 DMU Set #4438 This one was fitted with a Lenz decoder but the installer had taken a few short cuts - the soldering was not to good either. The loco would not run very well at all.

With the lid of (roof can be removed quite easily - I usually start at the rear of the car and work forward unclipping the roof)


As you can see the wiring hangs down into the cab area and is visible through the windows.

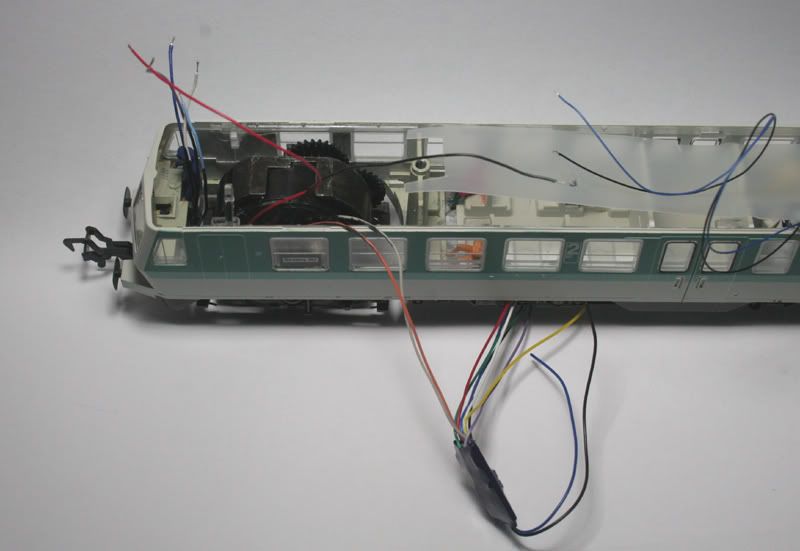
First thing is to remove the wiring , motor bogie , lamps contact brackets , lamps , main circuit board.

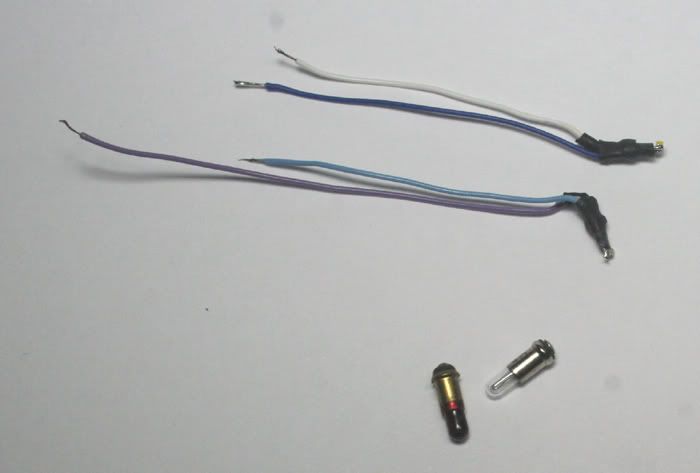
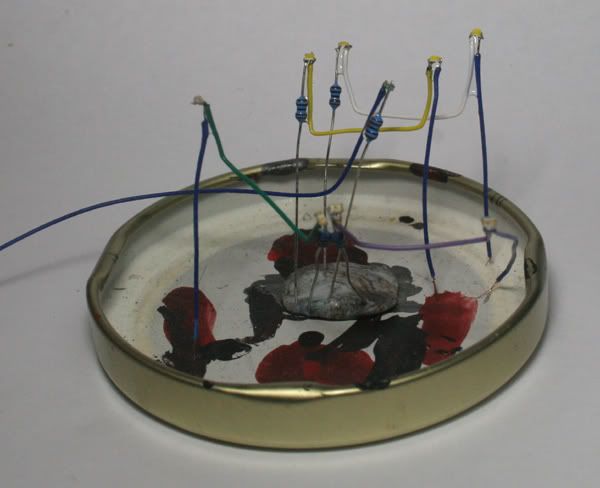
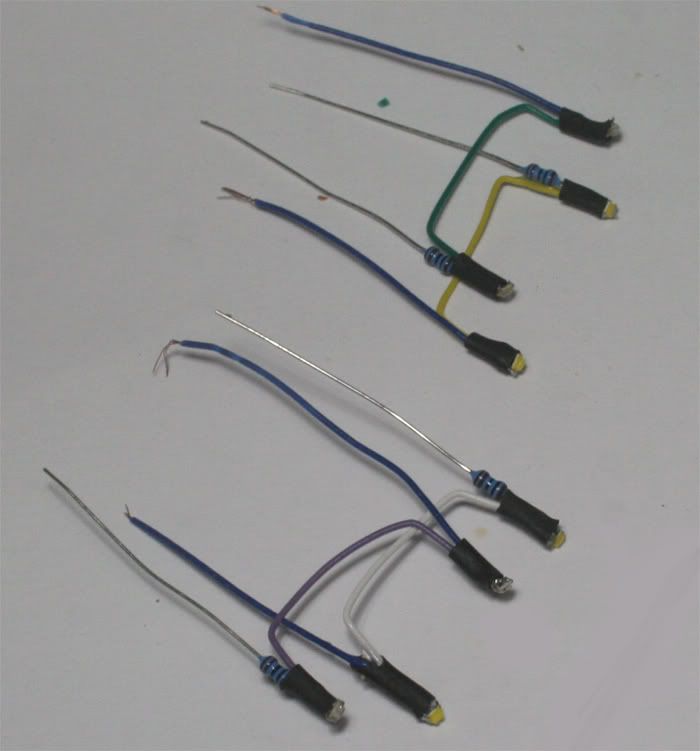
Previously I had made up some mini lamp replacements with SMDs soldered to resistors.
4 of each Warm White and Red for 2 sets of DMUs


Next I had a look at the Motor bogie to Clean the contacts and pickups.


This is where I had discovered that the pickups on the motor bogie had been removed rolleyes.gif

No wonder it was a poor runner!
I had replacements - there is one that contacts the axles and another that contacts the back of the wheels (on the left hand side)


Lately I have been soldering the pickups to the PCB and soldering the Brush holders to the PCB as well. I had a couple of locos that would work fine - then the next day would not run - soldering the brush holders to the PCB fixed poor contact.
 
The powered unit now has pick up on all 8 wheels (although 2 have traction tyres)

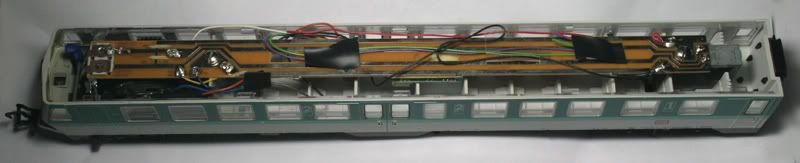
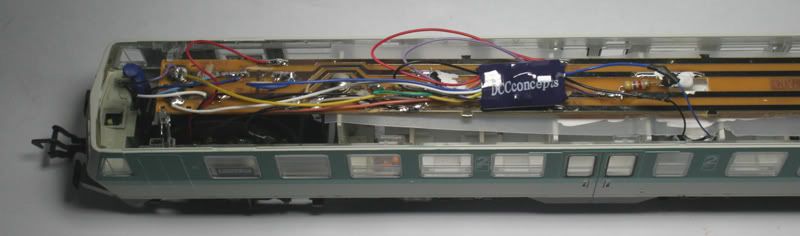
Next thing is the PCB that is inside the roof of the DMU


a few cuts with a Dremel to isolate the various sections . Holding the Dremel lightly against the PCB is all that is required . Too much pressure will cut straight through. Safety first- wear some eye protection! These blades spin at high RPM and I have had a few of the thin ones break up during use.


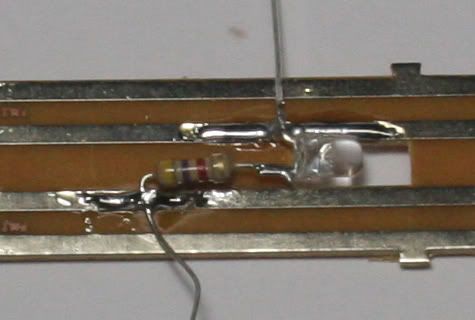
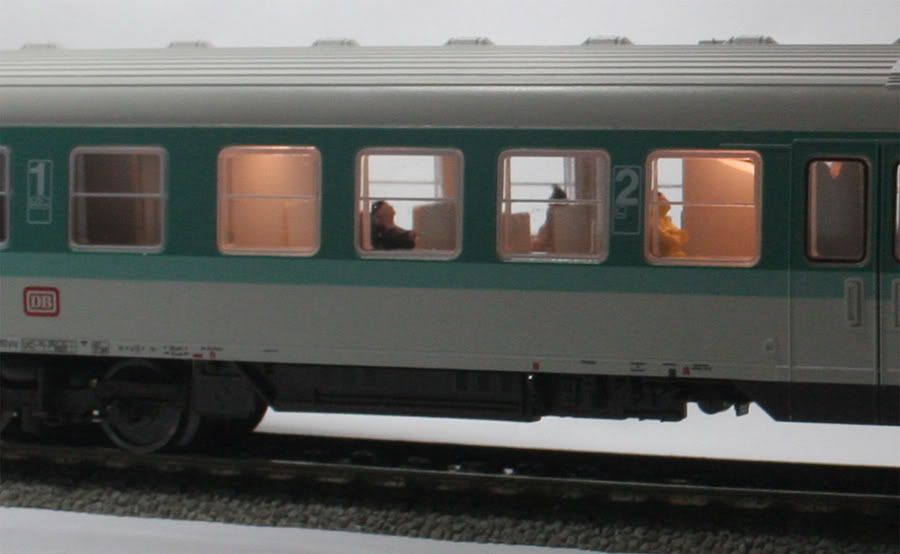
and some LEDs and resistors for internal lighting. I usually clean the track first and pre-tin the track before solding the LED in place. This makes sure that the LED does not absorb unnecessary heat. leaving the tail in place also helps in drawing the heat away from the components.
 
Painting the backs of the LEDs with white paint helps put the light in the correct place.


I added a diffuser (made from a plastic milk container) I also add a little white paint to this around the areas that the LEDs are.


You can spot the wires from the Stay Alive unit (This is painted white and held secure with double sided sticky tabs in the toilet)
 
Next the front lights are put in place and tested- then the motor bogie put back in before the PCB is put back in place.

These DMUs are wired a little differently than the conventional Fleischmann locos

Fleischmann locos generally are pushed (with the motor at the rear) and these are pulled (driver at the front and motor just behind him)
The motor body is connected to the Right hand rail pickups and the orange wire goes to the left hand side of the motor.


I paint all the visible wires black inside the cab area

I tend to leave enough wire for the motor to be pulled out for servicing so the extra is folded above the PCB


A few pictures of the motorized end


An Old Fleischmann Loco Converted to DCC

Hi All,

It's been a while since I added anything to my thread , although I have done quite a bit on modelling in between.

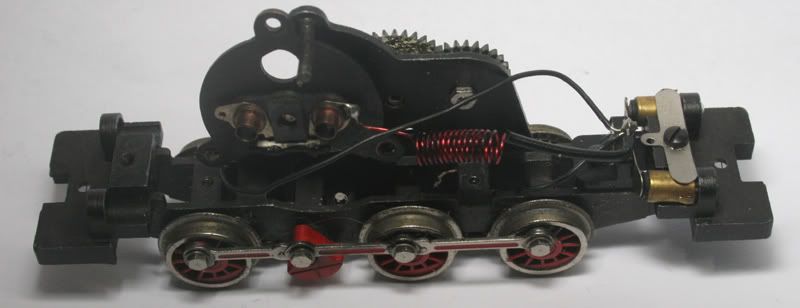
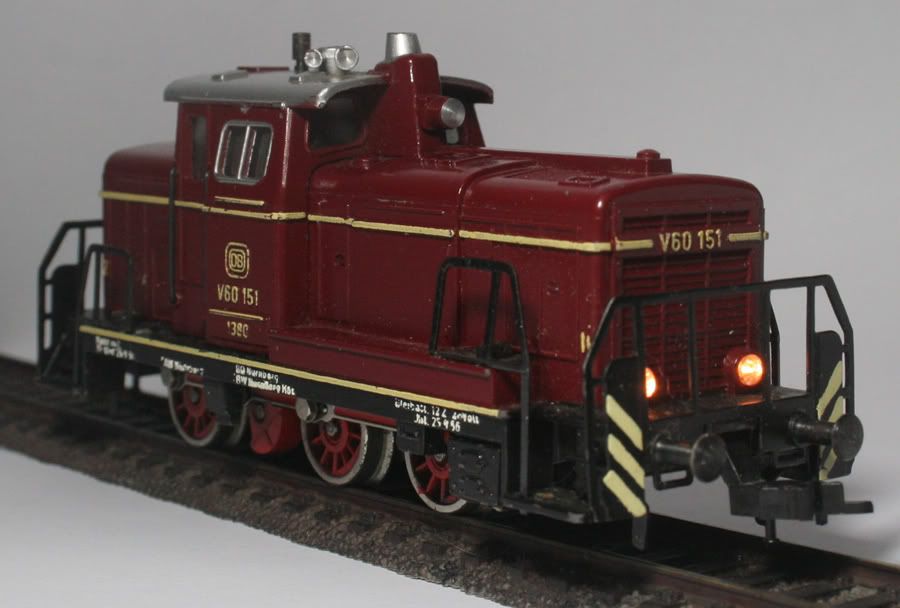
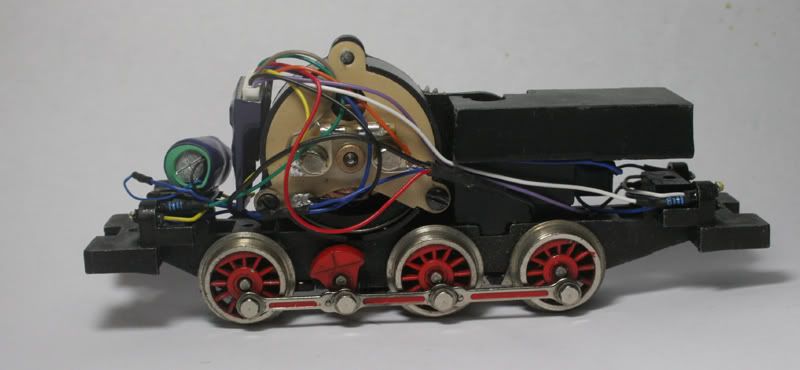
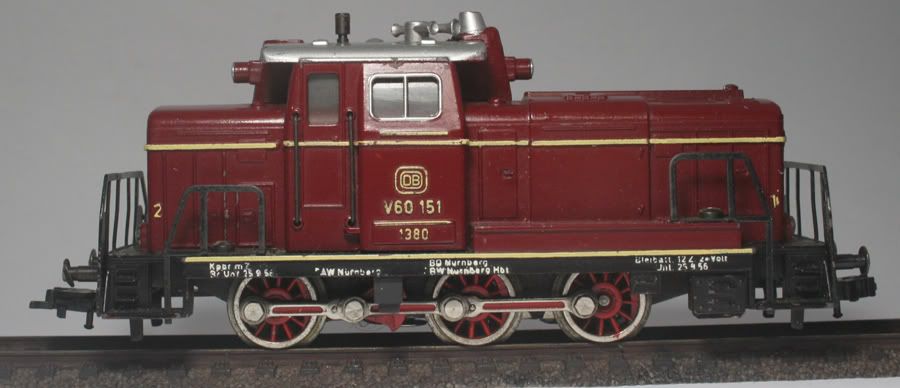
This loco I bought as a non runner a V60 or BR260 this is an early Fleischmann model #1380 with metal body
made between 1959-1966
They are just about indestructible.
The motor would not run, when I measured it with a multimeter - it looked as if the armature coils had shorted out.

Out with the trusty IPA, and a good clean, removing Carbon and oil residue from the commutator and between the gaps,
reassembled and tested and it ran trouble free and with quite a bit of power , the motor would run at quite low voltage without stalling - just as good as a new one. Not bad for something 50 years old. thumbsup.gif

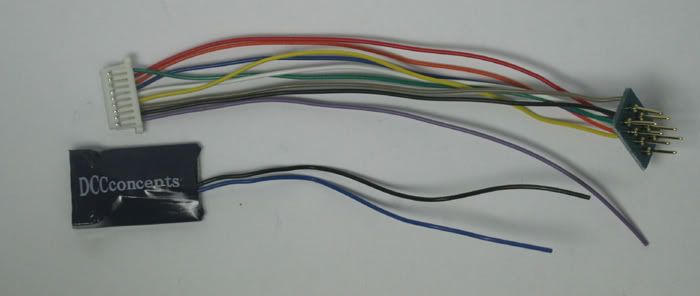
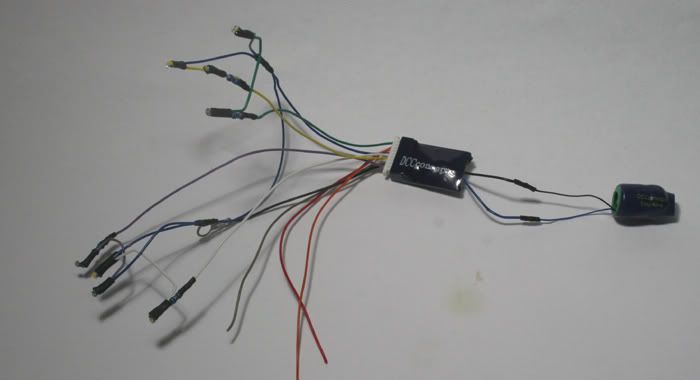
The decoder for this one is the DCCconcepts M4-SA


Having all the function wires connected to the JST plug makes wiring much easier than the mini JST on the S4-SA


The loco was not quite complete having one set of lights missing - but we will replace them with some SMDs


A little forest of SMDs each pair wired in series (tested before hand)


Then tried in place


Neat without wiring biggrin.gif


Decoder and Stay Alive in place


With all the SMDs and wiring in one piece it is just a matter of putting it in place on the loco


Then testing on the Programming track before trying on the main

I had the SMDs sticking out a little to far and broke one rolleyes.gif so a bit of patience and I managed to solder a replacement in (not easy!)


I also forgot to take Photos of the Red lights working rolleyes.gif

A Little Repair and Conversion Work

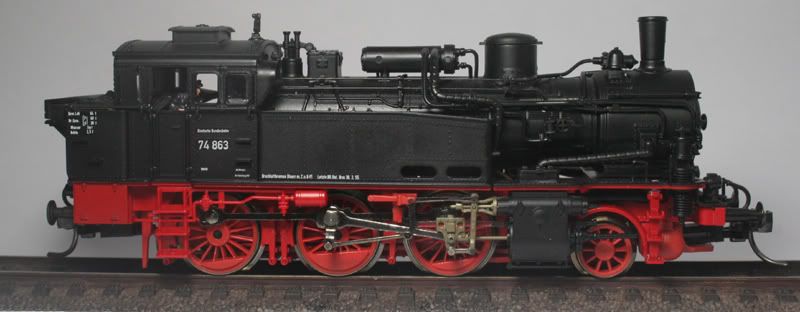
This is a Loco I did for a fellow MRF member a truly lovely BR74 by Roco (Don't look at the Flanges Richard!)
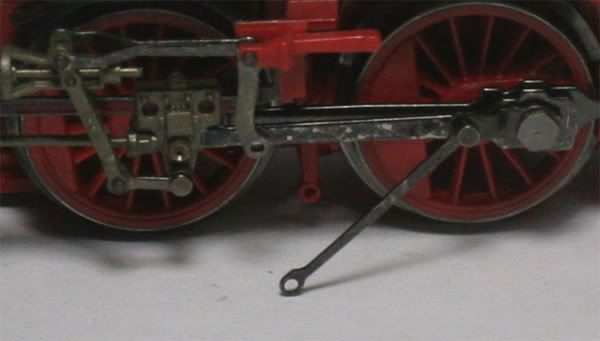
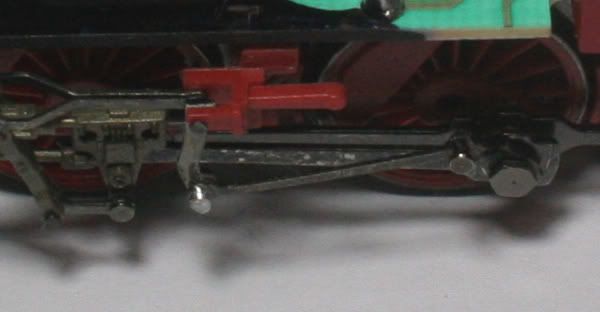
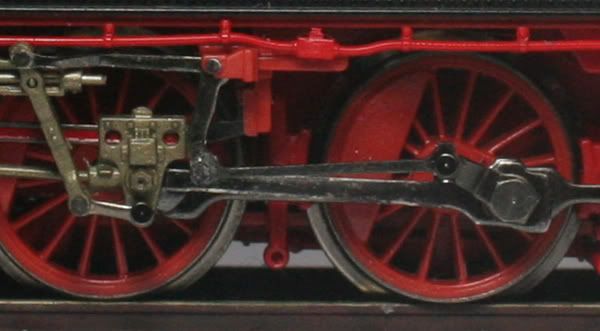
Runs very nicely on DC but had a broken or missing Pin on part of the Drive gear.


I made a New pin out of a off cut Aluminium from an LED tail soldered in place and filed to fit


Tested and worked a treat


A little paint to blend in with the rest of the Drive gear.

Same Loco, a bit later on I Did my first NMRA 8 Pin (NEM652) DCC Conversion
I normally Hard wire most of my conversions.

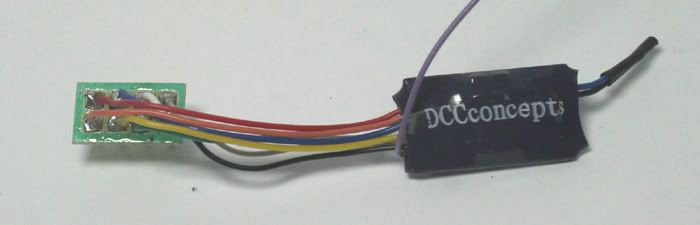
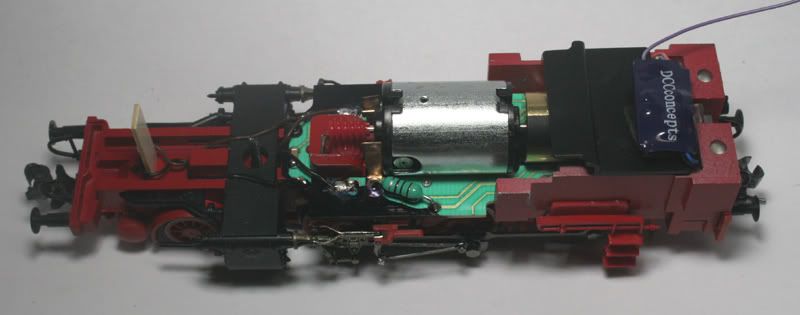
This a DCCconcepts Thin series (TS4-SA) Nice elegant decoder
Just compare it to the 8 pin plug and the DCCconcepts 8 pin plug is quite small compared to others that I have cut off the harnesses .

I shortened the harness quite a bit .


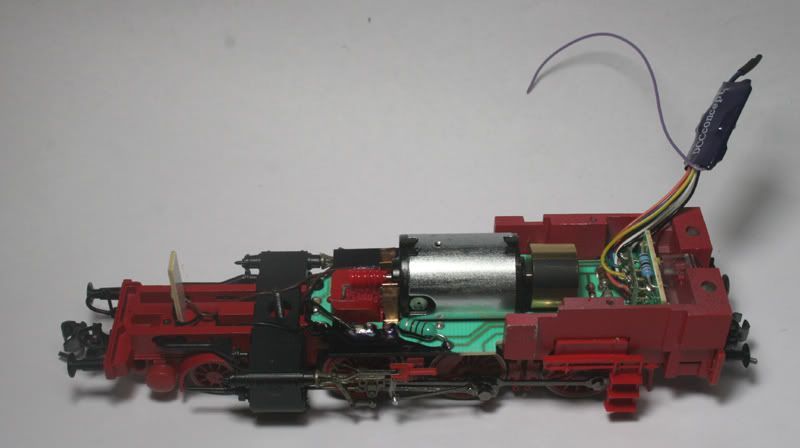
The decoder plugs in at the rear of the Loco , shame there is not enough room with the plug and socket plus extra components to fit the decoder under the cover there as well.


Below Decoder in place - just before a bit of black paint is applied.


Nice loco


One thing to note about resoldering the 8 pin plugs - If you have a socket to plug into it will keep the pins in place on the body of the plug

Or failing that - I used a blob of Blu-Tack as a "socket/ Heat sink" when I soldered the wires onto the plug

Translate

Search This Blog